

Small Bedroom Layout Ideas That Make Your Room Feel Bigger
By HomeStyledLiving | October 26, 2026
Most small bedrooms are not actually too small. They are arranged badly. The bed lands on the first wall that looks sensible, the dresser goes wherever there is a gap, a chair collects the clothes you are not ready to fold, and somehow every route through the room involves turning sideways. The square footage never changed; the way it is used did.
A layout is a set of decisions made in a particular order, and the order matters more than the furniture. The bed claims the most floor, so it goes first. Then the walkway, then the pieces that need space to open, and only then the extras. Get the sequence right and a modest room starts to feel calm. Get it wrong and no amount of styling rescues it.
This guide walks through ten placement decisions, from taping the plan on the floor to deciding which pieces earn a place at all. Where a product genuinely helps with one of those decisions, you will find it in the section; where a decision needs nothing more than a tape measure and an honest look, it says so.
Treat the numbers as starting points. Clearance advice varies between sources, rooms differ, and every product listing here gives only the dimensions the seller chose to publish, so measure your own wall before you buy anything. A queen bed, for instance, is generally 60 by 80 inches, but your frame will add to that.
Read it in order the first time, then go straight to whichever decision is giving you trouble.
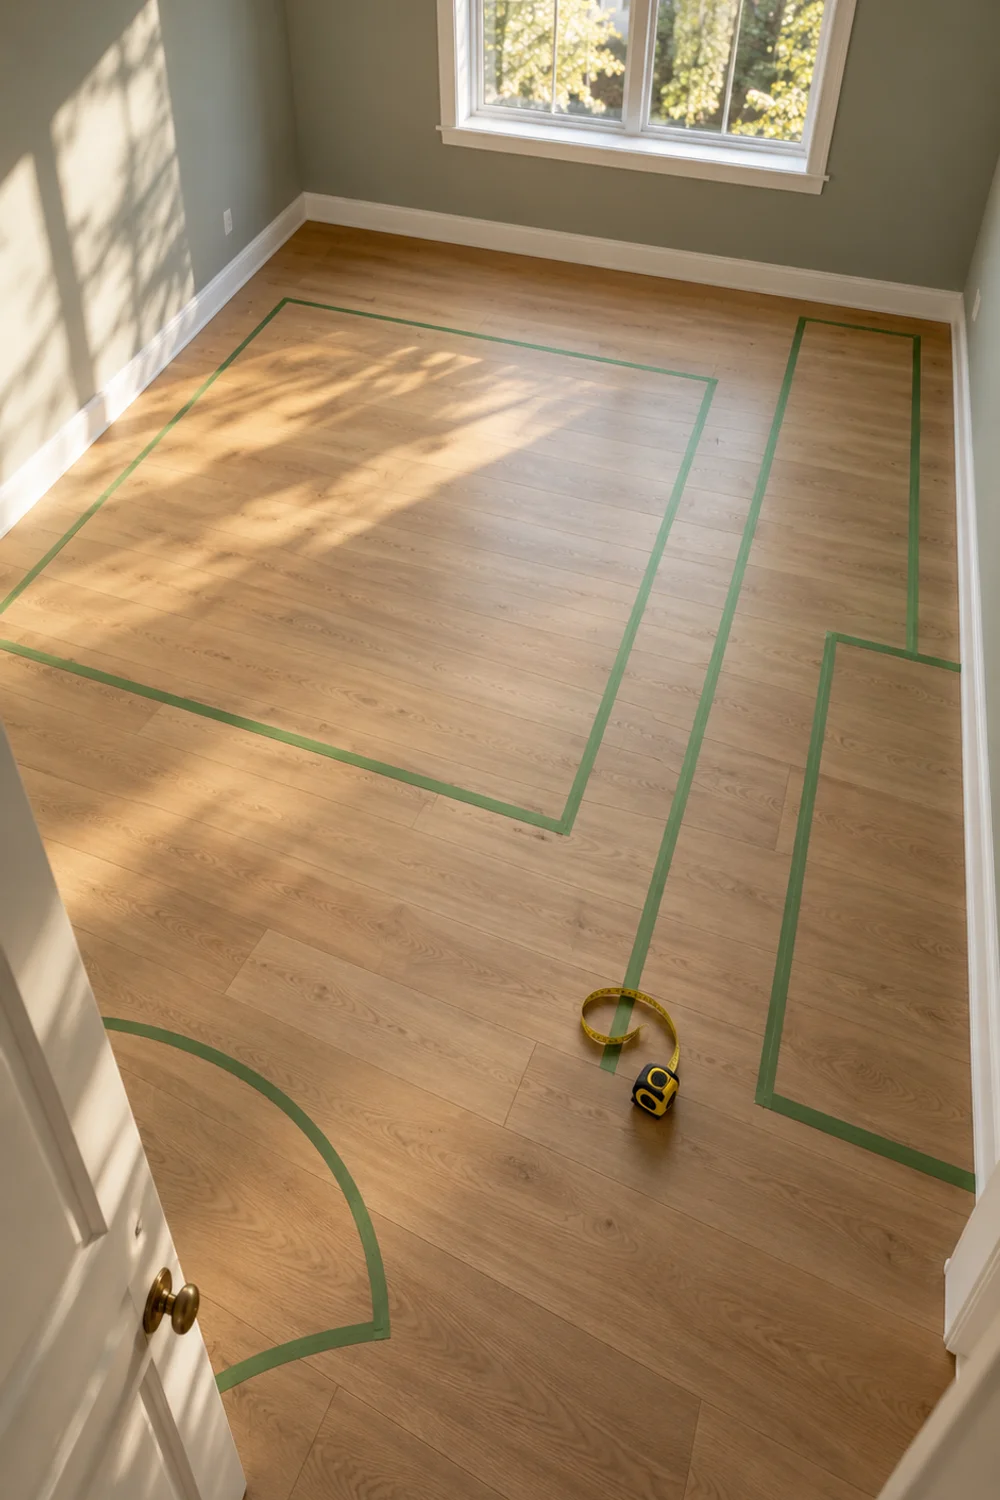
1. Measure the Room and Tape the Layout on the Floor First
 Save it
Furniture looks smaller in a showroom and larger in a bedroom, which is why a layout drawn only in your head so often fails. Measuring first takes ten minutes and prevents the most expensive kind of mistake: a piece that arrives and does not fit.
Start with wall lengths, but do not stop there. Note where the door swings, where the window sits, where the closet opens, and where any radiator, vent or outlet is that you cannot cover. These fixed points decide more of your layout than the room’s overall size does, because they are the things you cannot move.
Then use tape to turn the numbers into something you can walk through. Mark the bed’s footprint on the floor, then each other piece, using its real width and depth from the listing or the shop label. Painter’s tape is the usual choice; test it on a hidden spot first, because tape behaves differently on different floors. A rolled-up towel placed where a dresser would stand works too.
The point is to live inside the outline for a day. Walk to the window. Open the closet. Pretend to get out of bed at night. A layout that feels cramped in tape will feel cramped in furniture, and tape costs nothing to move.
Write the measurements on a single page, with the room in the middle and every fixed point marked. That page becomes the reference for every decision in the rest of this guide, and it stops you from shopping from memory.
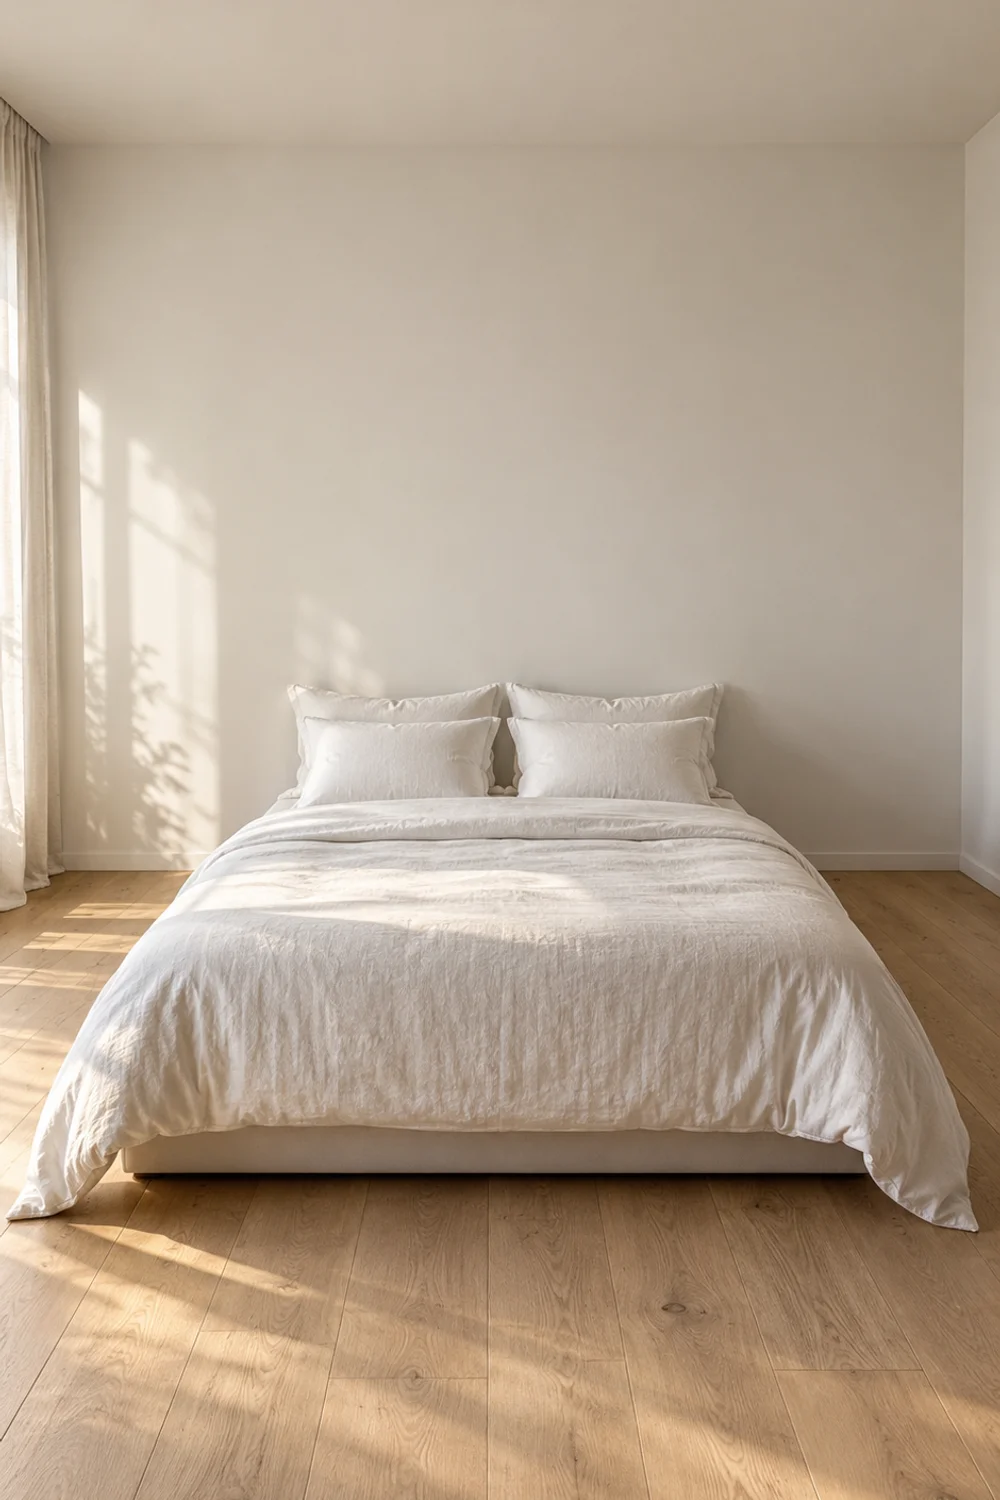
2. Choose the Bed Wall Before You Place Anything Else
 Save it
Everything in a bedroom is arranged around the bed, so the first real decision is which wall it sits against. There is no single right answer, and the advice you will read is not unanimous, so it helps to understand the trade-off behind each option.
Centered on the longest wall, the bed leaves both sides open, which makes it easy to get in from either side and to make it. That is why many designers favour it. The cost is that the floor on each side becomes narrow strips, and in a small room those strips are exactly where the nightstands and the walkway compete.
In a corner, one side of the bed disappears against a wall. That frees a larger block of floor on the other side, which can matter in a room with several doors. The cost is real: one side becomes hard to reach, and making the bed means leaning across it. Some guides advise against this in very small rooms for that reason.
In a narrow room, the bed often works best on the short wall, with the length of the room left open for the other furniture. Running the bed along the long wall tends to leave a corridor between bed and wall, which makes the room feel like a passage.
Keep the bed away from the door line if you can, and avoid placing it so that it blocks the window. When two options seem equal, choose the one that keeps the floor in a single usable piece rather than several slivers. One open block feels bigger than the same area split into strips.
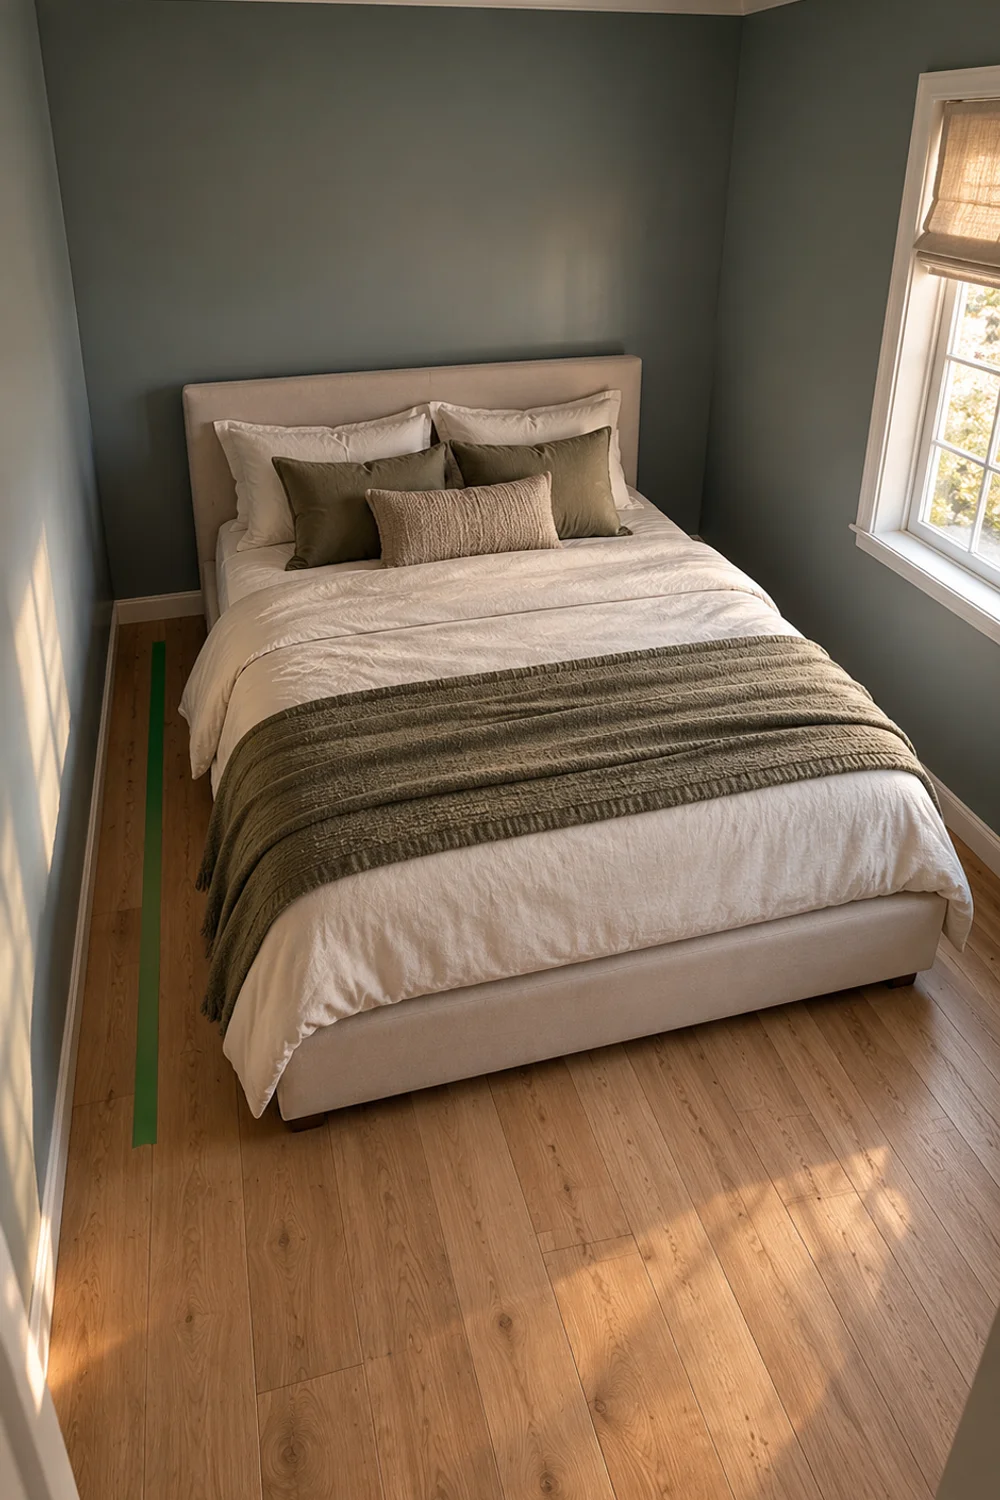
3. Fit a Queen Bed, or Step Down to a Full
 Save it
A queen is generally 60 by 80 inches and a full is generally 54 by 75, so the full gives back six inches of width and five of length. In a small room that can be the difference between a walkway and a squeeze, and it is worth deciding honestly rather than by habit.
Many sources say a queen fits a 10 by 10 foot room, and they are right in the strict sense that it goes in. What they disagree about is what is left. Some guidance suggests at least 24 inches of clearance on each side you will walk; at least one retailer guide suggests a queen in 10 by 10 leaves under 18 inches. Both can be true depending on where the bed sits and how thick your frame is, so the way to settle it is to tape the bed footprint rather than trust either number.
Do a quick sum. In a 120 inch room, a 60 inch bed centered on the wall leaves 30 inches on each side before any nightstand. Add a floor nightstand and that 30 inches shrinks quickly; push the bed against one wall and the other side becomes a single 60 inch strip. The arithmetic is simple, and it is worth doing before you commit.
A full is the sensible choice for one sleeper in a room under about 10 by 11 feet, because it keeps more of the floor usable. A couple who need the width should usually keep the queen and recover floor elsewhere, with wall-mounted pieces or a slimmer bedside setup.
Frame choice matters too. A frame with a deep footboard or wide side rails adds inches the mattress does not. Check the frame’s outer dimensions, not only the mattress size, before you plan around it.
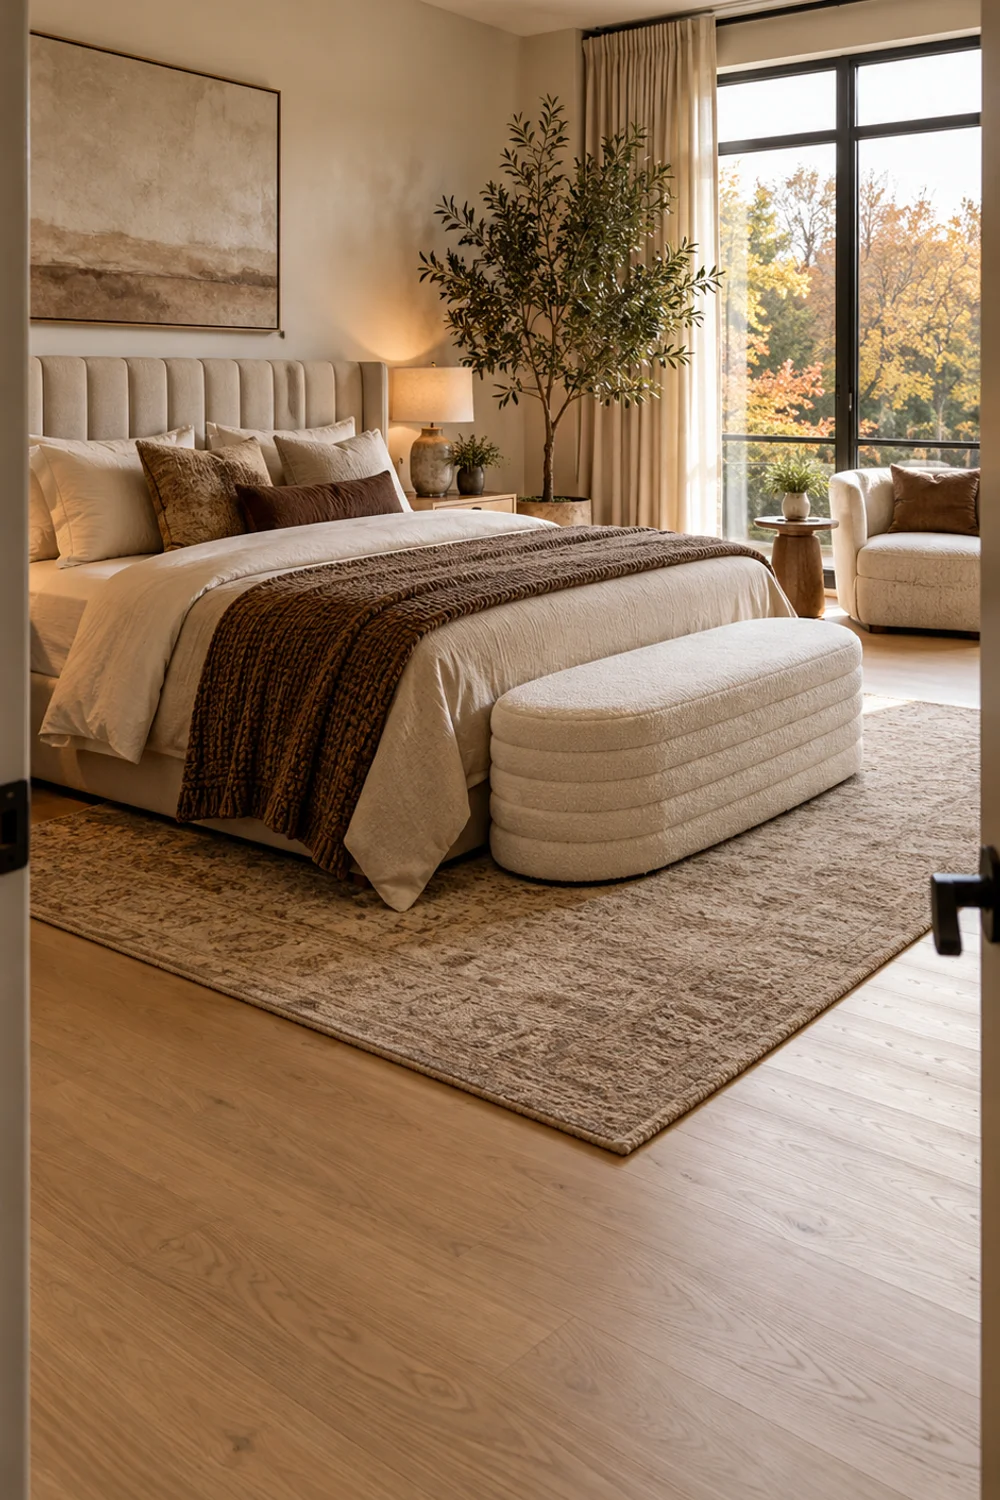
4. Keep One Clear Path From the Door to the Window
 Save it
A small room can hold a surprising amount of furniture as long as there is one unbroken route through it. Walking from the door to the window, or to the closet, without turning sideways is what separates a room that feels open from one that feels packed, even when the two contain the same pieces.
Common guidance puts a comfortable walkway at roughly 24 to 30 inches, with the tighter figure on the side you use least. The exact number matters less than the principle: pick the main route, protect it, and arrange everything else around it. Avoid putting furniture on all four walls, because that leaves a small island of floor in the middle that nobody can use.
The foot of the bed is often where this path runs, and it is also where an end-of-bed piece tends to go. A deep chest or a full bench can eat the whole walkway. The oval ottoman is only 15 inches deep and about 30.7 inches long, according to its listing, which leaves roughly 14 inches of floor on either side of a 60 inch queen.
Do the length sum before you buy. An 80 inch mattress plus a 15 inch ottoman is about 95 inches, so in a 120 inch room that leaves roughly 25 inches before the opposite wall, and your frame will take part of that. If the door opens at the foot of the bed, skip the piece entirely.
If the room still feels tight once the path is clear, the decorating side of the problem, from color to light, is covered in Easy Small Bedroom Ideas That Make Any Room Feel Bigger. The path comes first, though, because no finish makes up for a blocked route.
5. Give Both Sides of the Bed a Landing Spot That Stays Slim

 Save it
You need somewhere to put a phone, a glass of water and a book, but you do not need a full floor-standing nightstand on each side. Many are 16 to 24 inches wide, and in a small room that is a large share of the strip beside the bed. The aim is a surface within reach that takes as little floor as possible.
Wall-mounted pieces do that by lifting the surface off the floor. This set comes as two white wall-mounted nightstands with a fluted drawer front and an open cubby, each listed at about 14.3 inches wide and 11.4 inches deep. Because they hang rather than stand, the floor beneath them stays open, so a pair can sit on a narrow strip.
Mounting is the catch. The listing says they fix to the wall with the included hardware, which means screws, so check your lease before you decide. If drilling is not an option, Renter-Friendly Bedroom Upgrades That Make a Big Difference covers bedside solutions that leave the wall alone.
Light is the other thing a bedside usually takes space for. A lamp needs a surface and an outlet; a wall light needs neither. This sconce is cordless and rechargeable, sticks to the wall with an adhesive mount, and offers three color temperatures plus dimming and a remote, so the bedside surface stays free for the things you actually put there.
The listing recommends waiting 24 hours after sticking the mount before attaching the light, and a battery light needs charging, so keep that in mind if you read in bed every night. Whichever you choose, mount the surface at about mattress height so you can reach it without sitting up.
6. Place the Dresser by Its Drawer Clearance, Not by the Empty Wall
 Save it
The usual way to place a dresser is to find the empty wall and put it there. The better way is to start with the drawers. A drawer has to open, and you have to stand in front of it, so the space needed in front is the real footprint, not the width of the case.
Common guidance is about 36 inches of clear floor in front of a dresser or closet door. In a small room that is a lot, which is why the position of the dresser matters more than its size. Put it where that standing space overlaps with floor you would keep clear anyway, such as the path to the door, rather than carving a new patch out of the room.
Think about which wall it belongs on. On the door wall it shares the path. At the foot of the bed it can work in a narrow room, but only if the bed leaves the clearance. Beside the window, check that the top does not block the sill or the light.
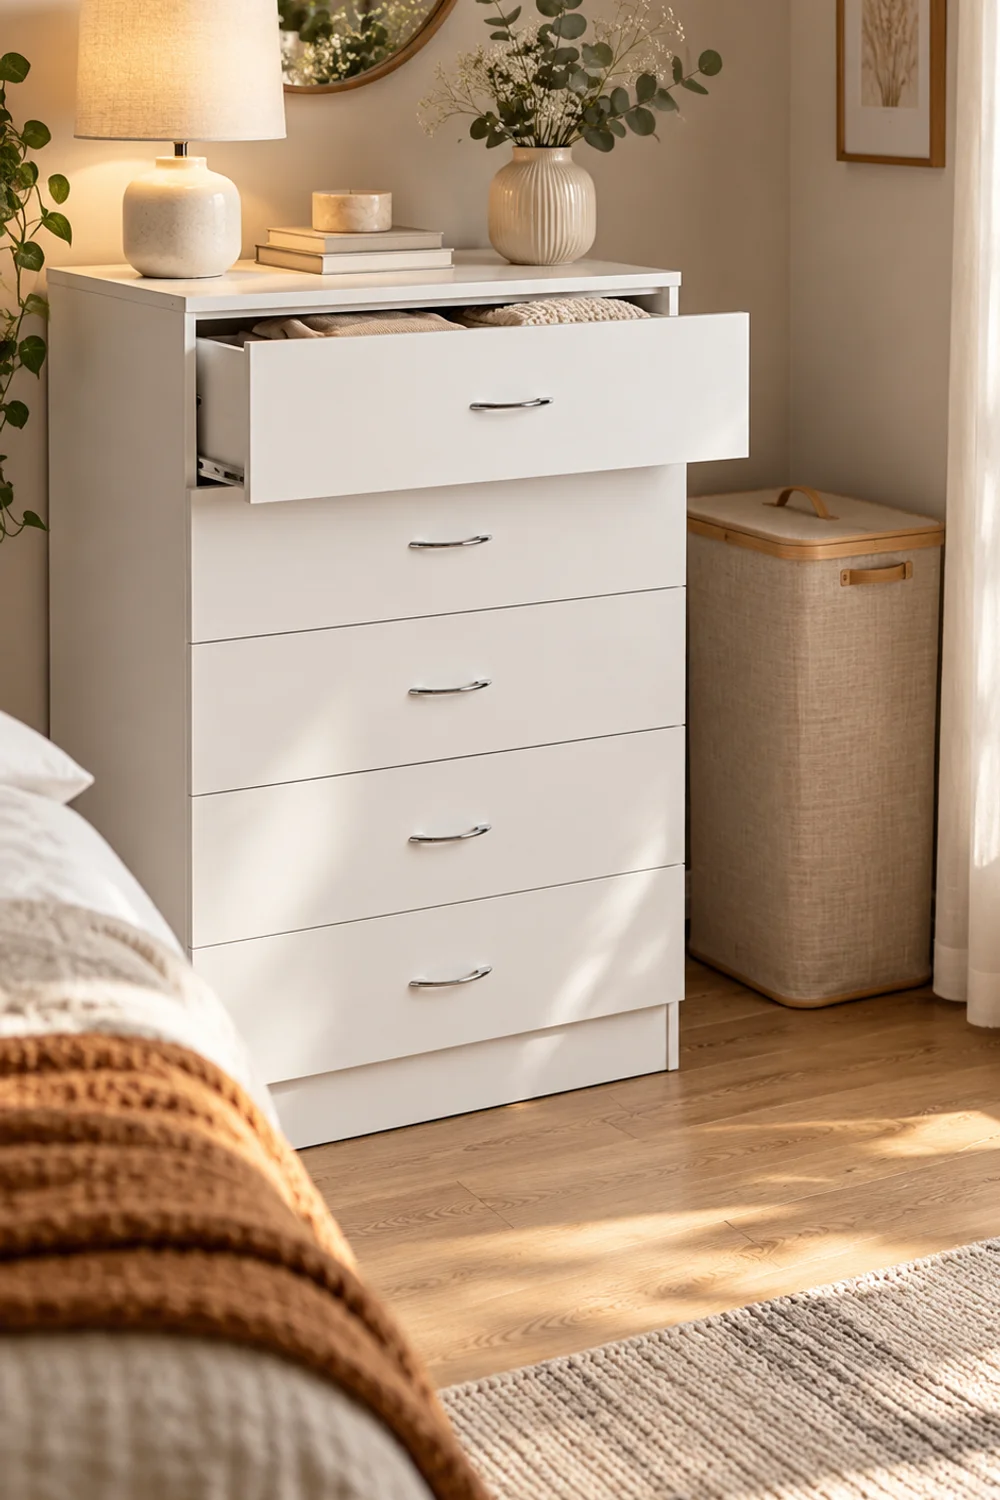
This home dresser has five drawers and a listed width of about 38.6 inches, according to its page. Its height and depth are not stated reliably in the listing, so confirm both before you plan drawer clearance around it, and check the depth against your tape outline.
The gap beside a dresser is the other thing worth planning. A skinny hamper, about 9.8 inches wide and 27.6 inches tall in the efluky listing, tucks into a space most furniture cannot use, and the lid and removable bag keep it from looking like a laundry pile.
Do not let the hamper sit in the walkway. Check that it clears the drawers, then leave the gap beside it open.
7. Use the Window Wall for Low Furniture
 Save it
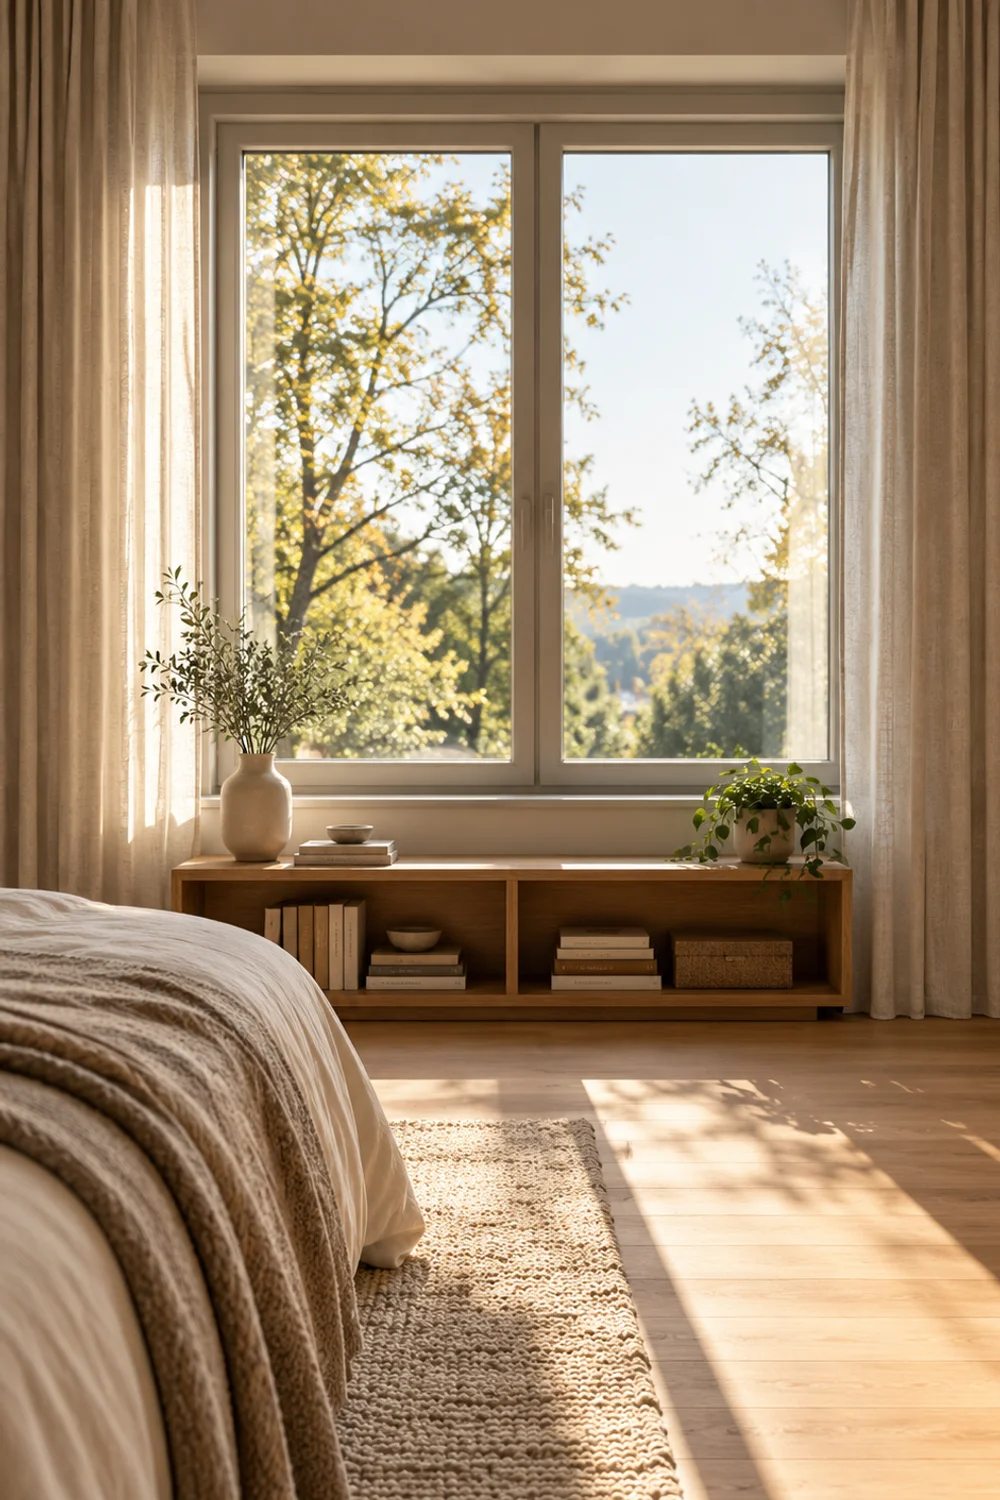
A window is the one part of the room that already feels open, and tall furniture in front of it spends that advantage. Keeping the window wall low lets daylight travel across the room, so the space reads as larger than the same floor area with a tall piece against the glass.
Low means below the sill, which is often around 30 inches, though sills vary, so measure yours. A bench, a low shelf, a short chest or a row of baskets fits under most windows without touching the glass or the curtain line. A tall wardrobe in the same place would cut off the light and make the room feel like it ends at the furniture.
This is also a good home for the piece that the room needs but that does not have to be tall. A low shelf holds books and a plant, a low chest holds blankets, and an uncluttered sill keeps the window looking like a window.
Keep the bed from blocking the window where you can. A bed pushed against the window wall can work, but then the headboard blocks part of the glass and the window can no longer be opened without climbing over the bed. If it is the only layout that fits, keep the area beneath the window clear and give the window a roller shade or a curtain you can reach.
Leave room to open the window, to clean it and to reach the curtain. A layout that makes a window hard to use is one you will stop using.
8. Anchor the Sleeping Area With a Rug Sized to the Bed
 Save it
A rug can do a layout’s job without taking any floor. It draws the edge of the sleeping area, gives the eye a single shape to follow, and keeps your feet off a cold floor at the point where you step out of bed. In a small room the only decision is size.
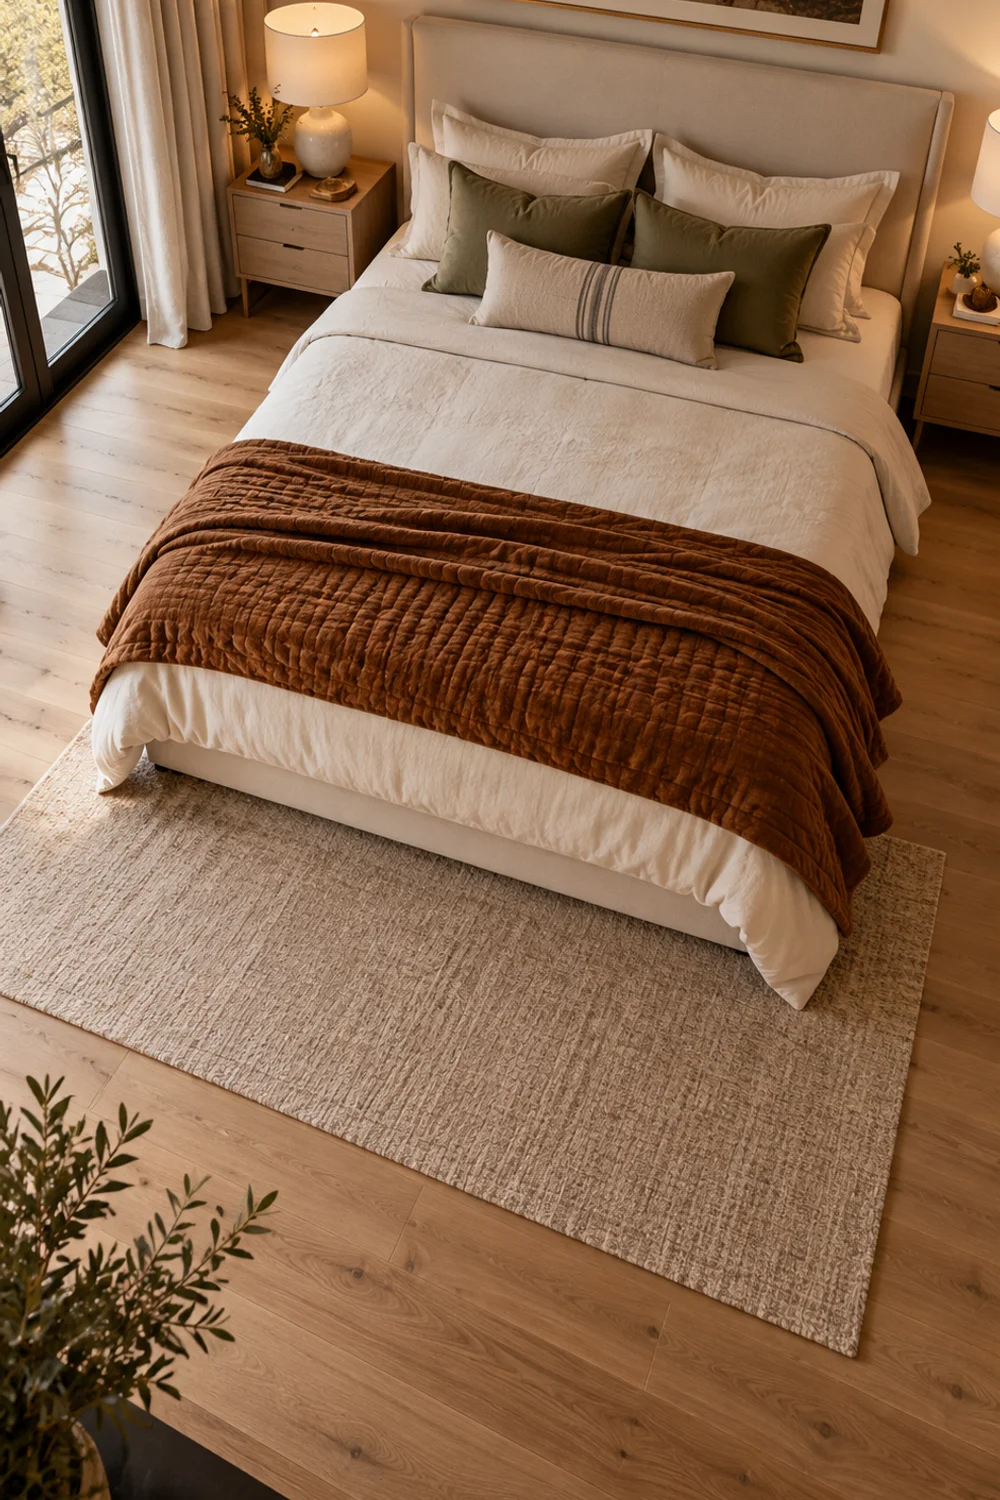
The usual advice is to place the rug under the lower two-thirds of the bed with 18 to 24 inches showing on the sides and foot. In a small room that often calls for a large rug and eats the floor you were trying to protect, so the better move is a smaller one placed differently.
A 5 by 7 foot rug, which is 60 by 84 inches, laid crosswise at the foot of a queen bed, runs about 12 inches past the bed on each side. It marks the foot as a zone without trying to fill the room, and it leaves the sides of the bed bare, which is where a floor-standing nightstand would otherwise sit on top of the rug.
Keep the rug flat. A rug with a curled edge catches the door and the toes of anyone walking to the window, so choose a low pile and use a non-slip pad if the floor is smooth. Check that a rolled corner does not cross the path you protected earlier.
If the rug leaves the door’s arc, make sure the door can still swing over it, because a thick rug can snag the bottom edge. A flat weave avoids that problem entirely.
9. Split a Long or L-Shaped Room Into Two Zones
 Save it
A long, narrow or L-shaped bedroom is easiest to arrange when you stop treating it as one room. Decide which end is for sleeping and which is for everything else, then place the furniture to support that split. The result looks planned instead of leftover.
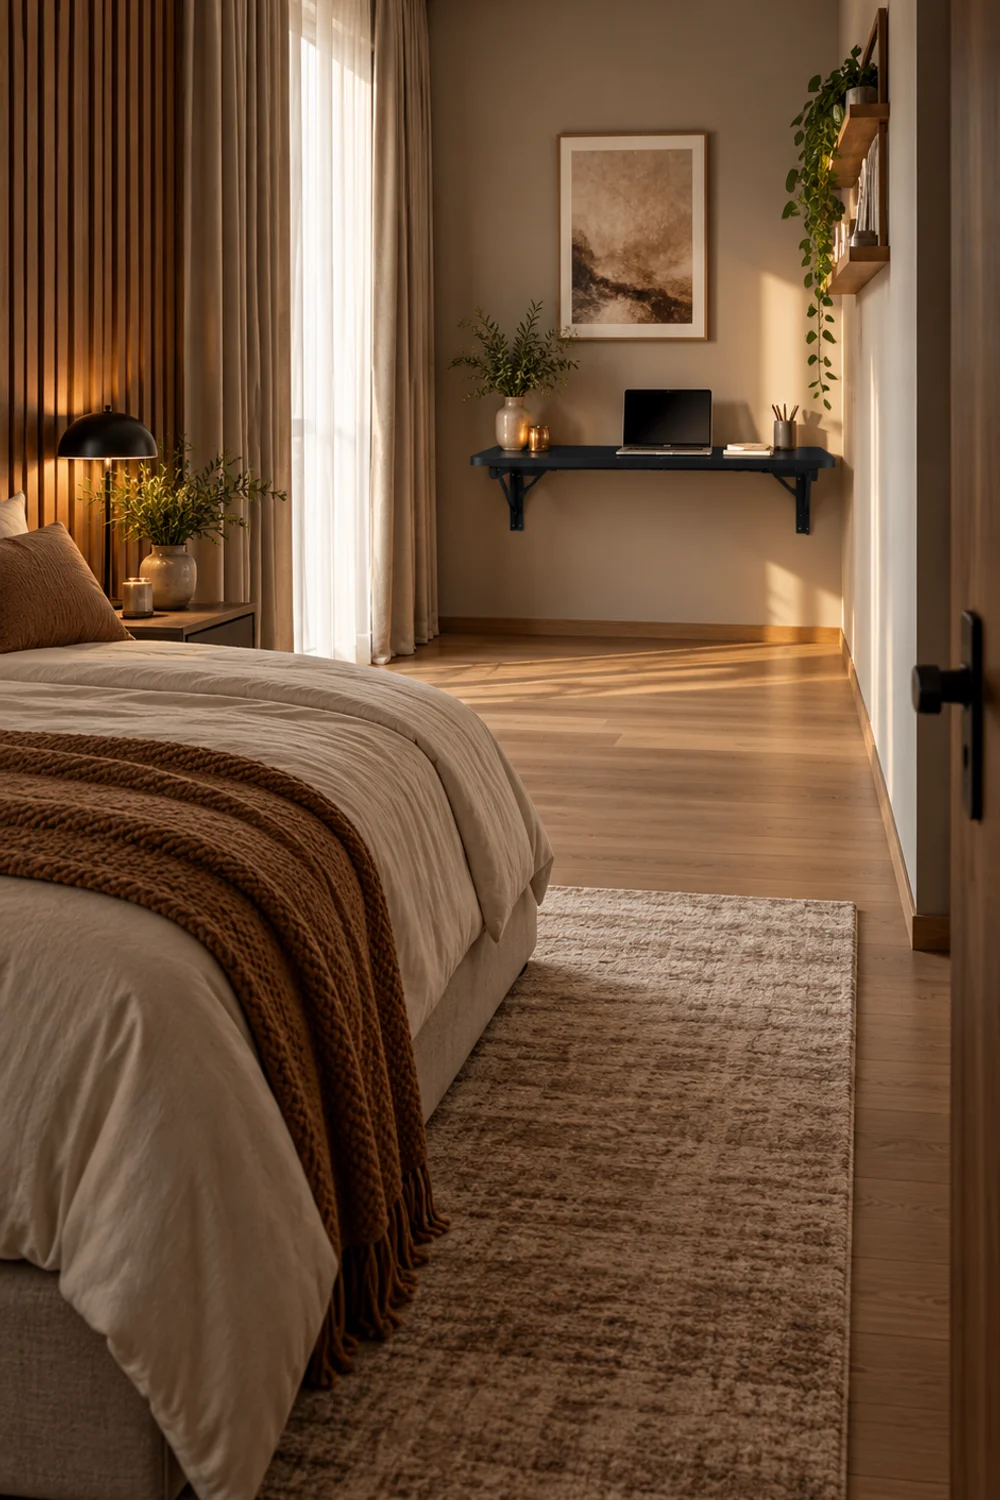
Start with the bed in the quiet end, away from the door, and let the other end carry the dresser, a seat or a small work corner. You do not need a wall to divide the two. A change of rug, a piece of furniture standing at a right angle or a folding screen is enough to say where one zone ends. Open or semi-open dividers work better than solid ones, because they keep light and sightlines moving.
Awkward shapes follow the same logic. An alcove often suits the bed, because three sides are already walls. A sloped ceiling is best kept for low pieces. A room with a jutting wall can use that corner for the zone that does not need much height.
A small work corner is a good example of a zone that should not take floor. The wall-mounted table lifts up to a 23.6 by 11.8 inch surface and folds flat to about 2 3/8 inches thick, and its listing rates it for 80 pounds. That is a place for a laptop and a notebook rather than a full desk setup, so be realistic about the work you do there.
Like any wall-mounted piece, it needs a sturdy wall, and the listing names cement, brick or drywall. Fold it down when you finish, and the work zone disappears with it.
10. Put Tall Pieces on the Short Walls and Keep the Long Wall Low
 Save it
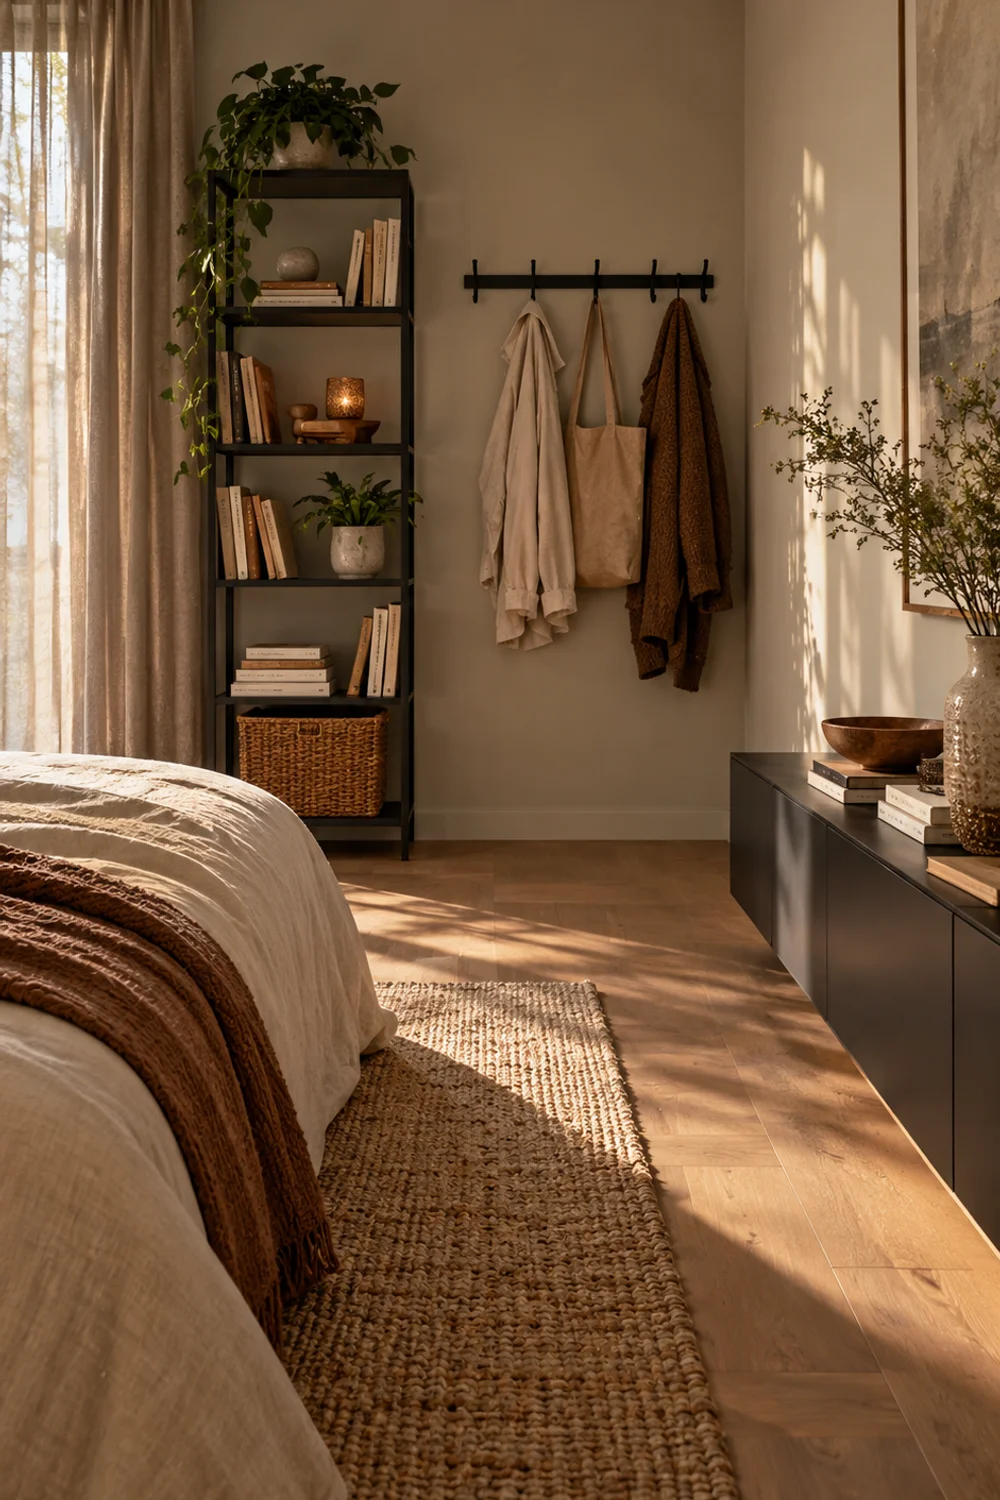
A room reads best when its heights step down toward the longest view. Tall furniture on the short end walls frames the room; low furniture along the long wall keeps that view open. Flip it, and a tall piece in the middle of the long wall turns the room into a corridor with a barrier in it.
Use height where the eye stops anyway. The end wall is also the one that does not interrupt your walk, so a slim, tall piece there takes the vertical space without taking path. This shelf is five tiers, listed at 15.4 inches wide, 10.6 inches deep and 55.5 inches tall, which makes it narrow enough to stand against a short wall without narrowing the room.
Anything tall should be fixed. The listing includes an anti-tilt fitting for the wall and advises using it, so plan for that, and keep any tall piece away from the bed and the doorway.
Then finish with one edit. The last move in a layout is deciding which piece does not earn its place. The chair that only collects clothes is the usual candidate, and a row of hooks gives those clothes a place without a seat. This rack has five T-shaped pegs on a 16.5 inch rail, listed for up to 22 pounds, and it mounts with screws.
If the layout is right and the room still lacks storage, the zone-by-zone approach in Small Bedroom Organization Ideas That Instantly Free Up Space picks up where this guide leaves off. Removing a piece is a layout decision too, and often the one that makes the biggest difference.
Common Mistakes
1. Placing furniture before measuring
A layout drawn from memory fails at delivery. Measure the walls, mark the fixed points and tape the footprints first, because tape is cheap to move and a bed frame is not.
2. Putting furniture on all four walls
It leaves a small island of floor in the middle that no one can use. Keep one wall, or at least one route, completely open.
3. Blocking the window or the door swing
A bed against the glass, a tall piece beside the window or a door that hits the dresser all make a room harder to use. Check every swing and every sash before you commit.
4. Leaving too little room on the side you walk
Many sources suggest around 24 inches, though they do not agree, so test it with tape and by walking it. If you have to turn sideways, the layout needs another pass.
5. Buying a bigger bed than the room can carry
A bed that fits technically can still leave no floor. Measure the frame, not only the mattress, and consider a full for a single sleeper.
Frequently Asked Questions
Can a queen bed fit in a 10 by 10 room?
It can, but sources disagree on how much space is left around it. A queen is generally 60 by 80 inches, and in a 10 foot room centered on a wall it leaves about 30 inches each side before any furniture. Tape the footprint and walk it before you decide.
Should the bed go in a corner or centered on a wall?
Centered keeps both sides reachable, and corner placement frees a larger block of floor, at the cost of one side. In a very small room, many guides prefer centered or against a short wall, so choose by how you will actually use the sides.
How much space should I leave around a bed?
Common guidance is roughly 24 to 30 inches on the side you walk, and about 36 inches in front of a dresser or closet. These are starting points rather than rules, so check them against your own room.
What is the best layout for a narrow bedroom?
Put the bed on the short wall so the length of the room stays open, keep the long wall low, and leave one clear path. Avoid running the bed along the long wall, which can turn the room into a corridor.
Where should the bed go if there is a window?
Away from it if you can, so the glass stays clear and usable. If the window wall is the only option, keep the area beneath it open and make sure you can still reach and open the window.
Final Thoughts
A layout is the cheapest change you can make to a bedroom, because it costs nothing until you start buying. Measure, tape, walk it, and move the plan before you move the furniture. The rooms that feel biggest are rarely the ones with the least in them; they are the ones where the bed, the path and the open floor were decided in the right order.
You do not need to use every idea here. Settle the bed wall, protect one clear path, and take one piece out. Those three decisions do most of the work, and the rest, from a slim bedside to a hook that replaces a chair, only has to support them.
This post contains affiliate links. I may earn a small commission at no extra cost to you. As an Amazon Associate I earn from qualifying purchases.

GET YOUR FREE CHECKLIST
A More Organized Home
Starts Here
Join the community and my free Home Organization Checklist, plus weekly tops and inspiration.
Thank you!
You have successfully joined our subscriber list.